
- Installed ceiling light (made hole in wall)
- removed base trim
- painted window and door trim
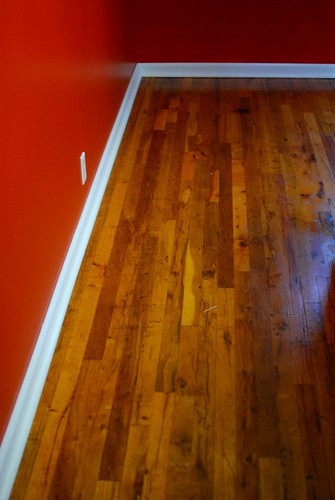
- Painted walls (patched hole in wall)
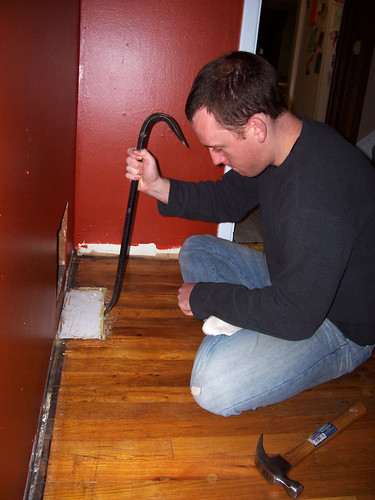

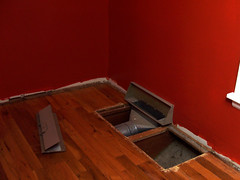
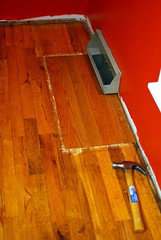
Well I called many flooring places just looking for a few scraps. No luck there, but leave it to our favorite home improvement store, I'm not even going to say because I'm sure you already know! But one of the nice workers just told me to take some of the extras that were used to make the display, and went the spare pieces weren't enough she just said "well just take what you need from the top of the display, no one will notice" AND she didn't make me pay for them... which was even better because I wasn't have a good day but this turned everything around. So we removed the boards, had a hole, then filled it :-)

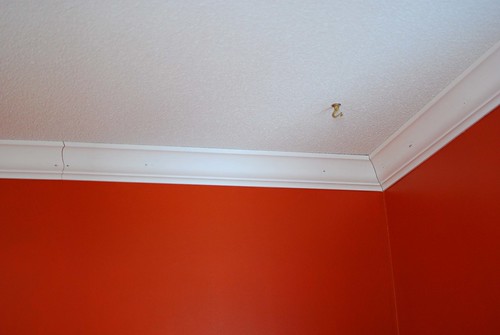
Once those were covered we began the trim. We got the main trim on first:
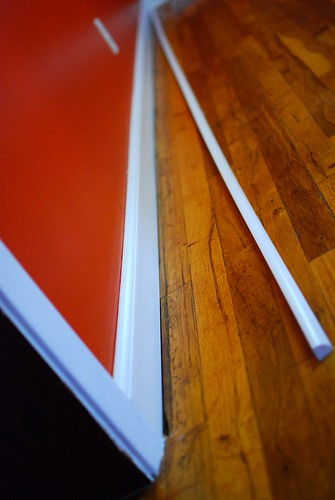
Then put the cord on it to cover the little open space around the base of the room:
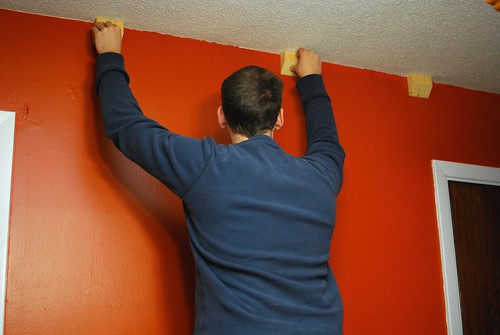
Now all we have left is the crown molding... but the words "all we have left" are pretty BIG words! We started with getting the base pieces up that we would nail into. We first glued them up:
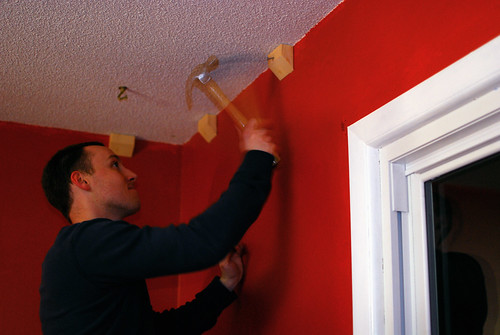
Then we nailed them into the stud in the wall:
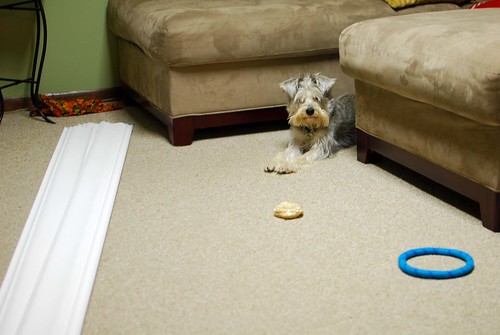
Harpo took cover while all the banging was going on:
Then we attempted to put two pieces up, one on the east wall that took us 1.5 hrs and one on the west wall that took us .5 hours. We learned that pre-drilling the holes before we nailed was a BIG time savor!!! We were feeling pretty good at this point (Monday evening on November 23rd) that we thought, why not try the north wall and connect the two. Now we knew the corners were going to be tricky from the beginning. We have a mider saw... but not a compound mider saw. We were VERY optimistic that these rando cuts were going to miraculously line up... well we got the molding cut came inside. (oh yeah, just a side note, our mider saw is in our garage. We live in one of those cute older neighborhoods with alleys and detached garages. No big deal at this point because it was still in the 40s at this time) So we brought the molding inside... HA HA it would have had to have been an act of God for those corners to match up. We decided it was late enough and we were not going to reach our goal of finishing by Thanksgiving so we left it at that. East and West sides up, molding in the middle of the floor in the dining room, molding in the middle of the floor in the living room "we'll just deal with it the weekend after Thanksgiving". We also surrendered to the fact that we were going to have to use a coping saw... somehow we thought we could do this up our own special way and it would work... nah back to the books and videos we had read/watched.
Well that weekend has arrived! And we were SOOO motivated to get that room done, we are so tired of tripping over molding, eating on the couch, dealing with the guest room full of furniture and crap, so today was the day! So this morning the first thing we did was take down the two pieces that we had already nailed up. We also took some of our space heaters out to the garage, because unlike the weekend before thanksgiving it was now in the lower twenties and we were going to be going back and forth from the house to the garage. Of course adding heaters to outlets involved blowing breakers... but hey we were bound and determined to get this finished. Then we headed to THD (I serious think we should buy stock in this place or something)... but not just to buy a coping saw, but to also rent a COMPOUND mider saw! Hope falls upon us as he wheels the shiny, 'light', new saw up to us and what do we see? It's a wonderful DISPLAY of how to cut crown molding! Our hearts became lighter and our prayers of thanks became stronger!!! We left THD with huge grins and lots of faith that this was actually going to work! So we mapped out our plan of what piece was going up where what corners were getting coped and it all began to fall together...
Our first corner:
And our last corner:
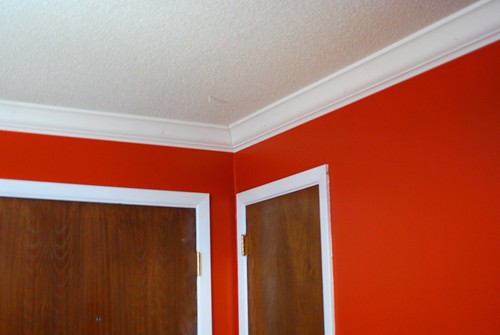
You might notice a few seams, a few holes (where previous nails were) and obviously you can see the nails... but that is all because we have a shorter, easier to do list for tomorrow:
- use nail punch to push nails in
- use wood filler to cover nails and smooth out any oops areas
- sand filler and paint white over molding to get all smooth and beautiful
- MOVE FURNITURE BACK IN ROOM
- get life back to normal and rid of the clutter in the house :-)
Thanks for reading!
No comments:
Post a Comment