
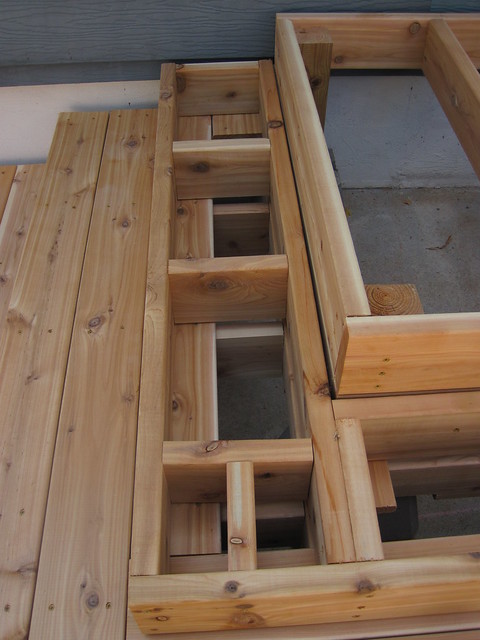
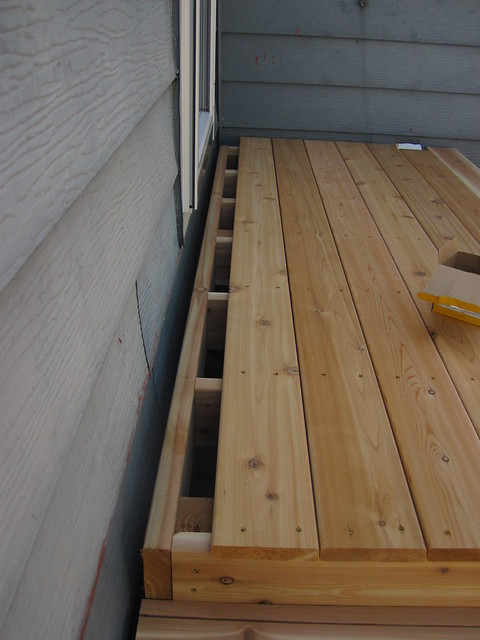
Okay on with my blog. I've been looking forward to sharing this step-by-step because of all the research we did in preparation and how disappointed I was with how little there was on the internet about building a deck. Or this kind of deck anyway, lots of info out there, just not want we were looking for. Or photos showing the under side of cascading box steps.
So months and months ago (when Kyle was still in school) he agreed to build me a new deck. I hated how our originally deck made our backyard seem tiny and was just a big eye sore. It had lattice sides, which were not complete as well as was getting somewhat rotted. When my older brother came to visit a couple summers ago he insisted we replace one piece that was pretty much rotted through. I posted about that deck tear down here: http://bloggingmizdaisy.blogspot.com/2013/07/deck-demolish.html
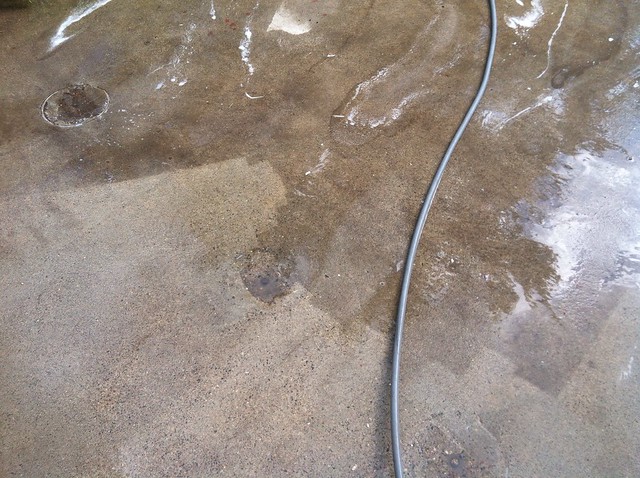
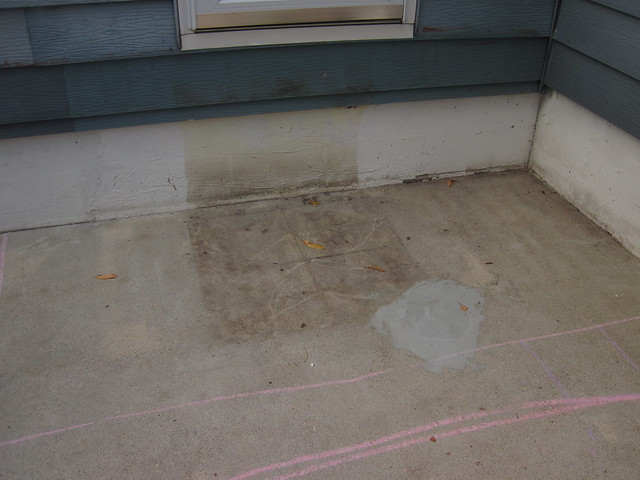
To pick up where that blog left off, I cleaned the patio off one weekday morning. Got some concrete cleaner and scrubbed that on then went down the road while that soaked in to rent a power washer, came back got it sprayed off and cleaned and returned the washer all before lunch time and Isaac's nap.
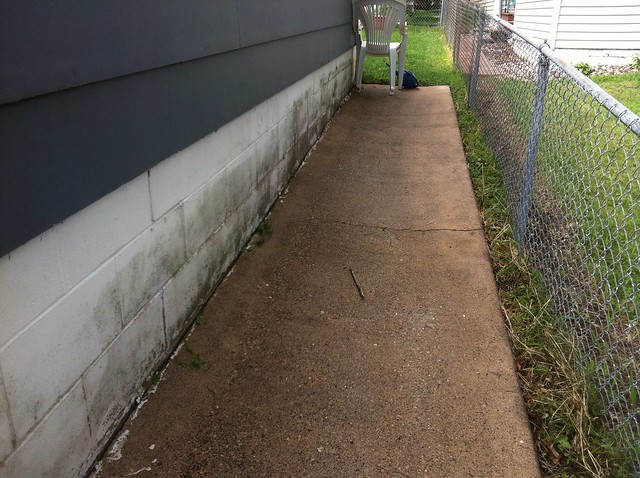
Oh and I cleaned the area by our garage: (yes this is after, it was MUCH worse before hand - but I didn't have as much time to spend on it)
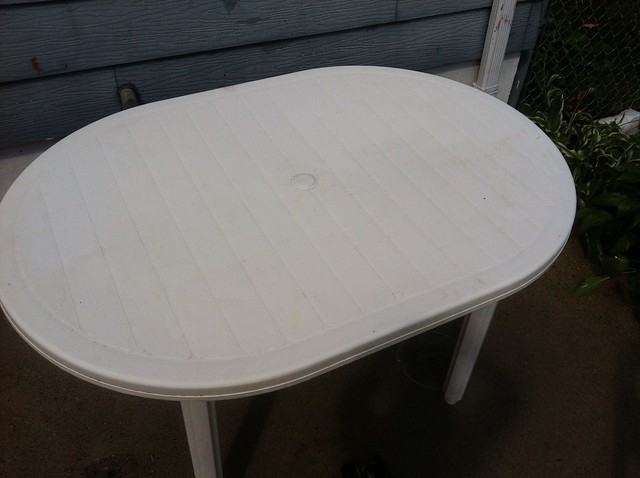
And our table (like last time we had the power washer)
The cleaning made a TREMENDOUS difference. You can't see too well because my 'after' pictures were when it was still wet, but it looked like a different deck once it was dry.
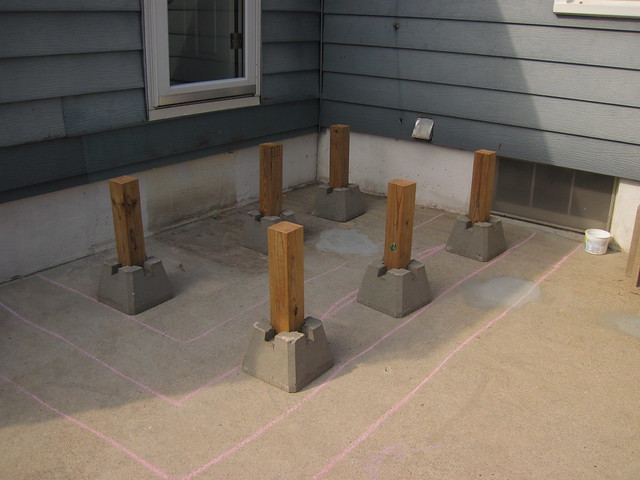
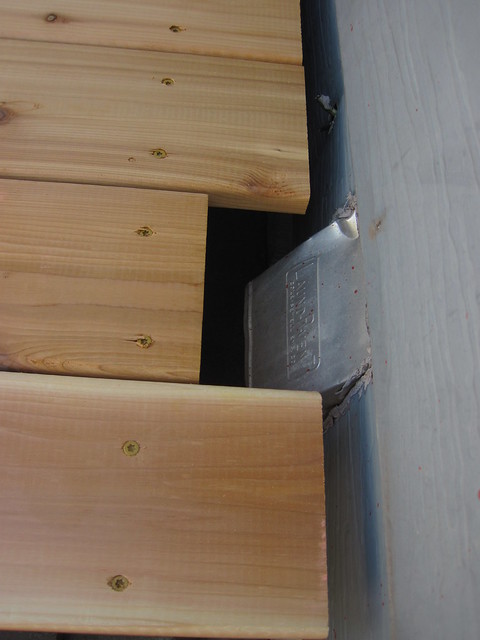
Once it was cleaned we filled in those rebar divots with concrete patch. (picture is before it was completely dry)

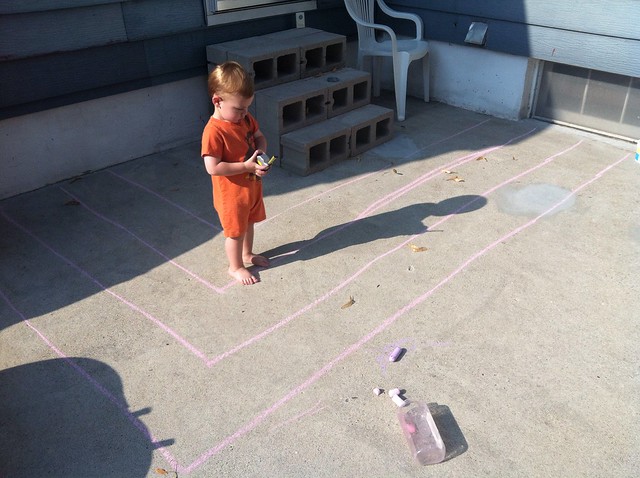
Here is some of our sketch work at where the deck would be
A little story here before I get into the deck re-build. So August 14th we went into Home Depot with the intention of buying all our supplies and starting that weekend (Saturday the 17th). We talked with a guy who was rather discouraging but in the end it was a good thing. He stressed the fact about having a city permit for building and wasn't as helpful as we had hoped. So after Kyle got quite aggravated from this guy we decided to just get the concrete patch and the concrete dek-blocks and NOT get any supplies and put off building the deck until we looked into a permit. Long story short we DIDN'T need a permit because it A) was under 30" and B) wasn't attached to the house (which Kyle says he already new but didn't make that clear when dealing with the HD guy). But this did make us go back and draw out better blue prints, talk over EVERY detail, be much better prepared, and have a specific shopping list of what to get (down to the last inch of wood needed and number of screws we'd need) So even though that guy pissed us off, he ended up helping in the end making us better prepared for our project.
So we had our nanny come watch Isaac Friday night and we set off to Home Depot for our supplies:
- 3" Deck screws (500+)
- New saw
- 4 x 4 (frame posts) 9' worth = 10' piece
- 2 x 6 (everything else) 200' worth
2 x 12 (facing sides of the frame)We didn't end up getting this piece because it wasn't the same type of wood and was not as pretty. Since it was going to be the showing side of the first step we didn't want to get a piece that wouldn't match. And this piece was also for when our plans had us using stringers, since we decided to go with boxes it wasn't as needed.- 1 x 6 (planks for the top and top of steps) 144' worth = ended up getting 164' and still had to go back to get 4 more 10' pieces.
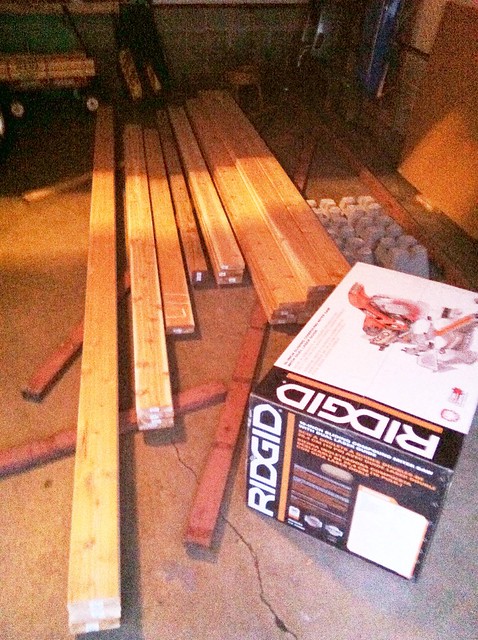
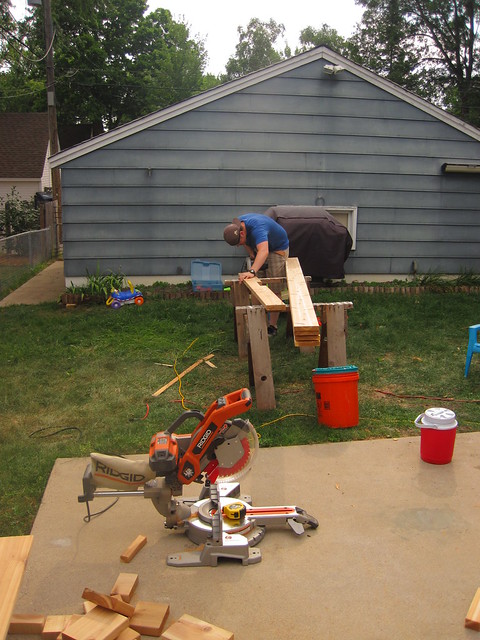
And of course we ran into the guy I mentioned above. Although it was good because we were able to get some closure sharing with him that we did in fact NOT need a permit. He said "that's good as long as you are sure". And he actually was helpful in our saw purchase. We have a miter saw, but it is an oldie that I had purchased for $30 at a garage sale. Got the job done for things we've made so far, but wasn't going to be the best for this deck. So we got a sliding compound miter saw which was AWE-some and did an amazing job cutting - like butter. The guy shared that all Ridgid tools have a lifetime warranty repair through HD, which was super helpful as we were leaning toward a Dewalt saw, so that persuaded our purchase.
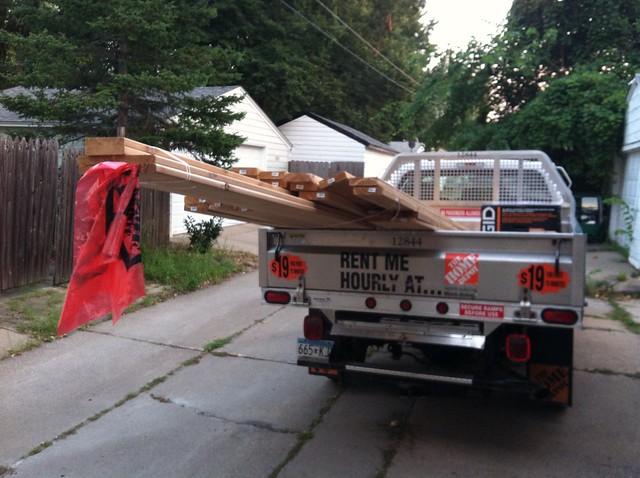
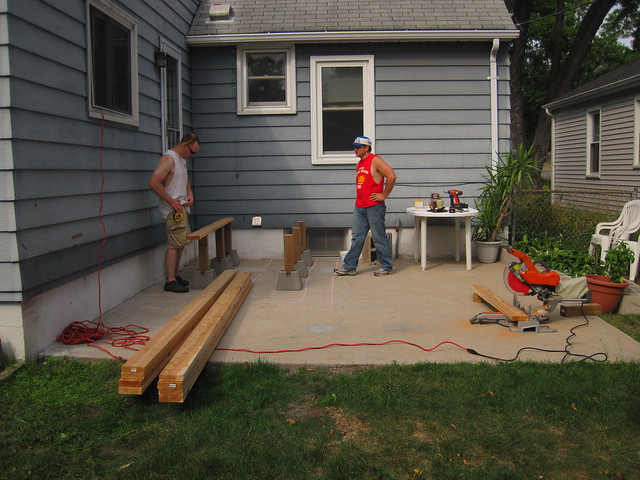
So we got our supplies and got a truck rented to haul it all home
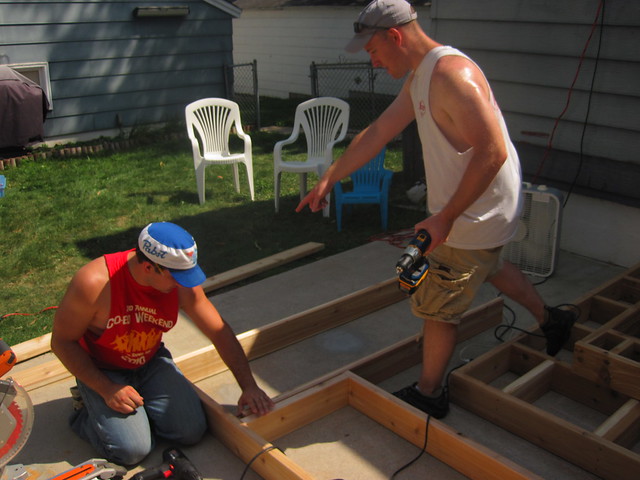
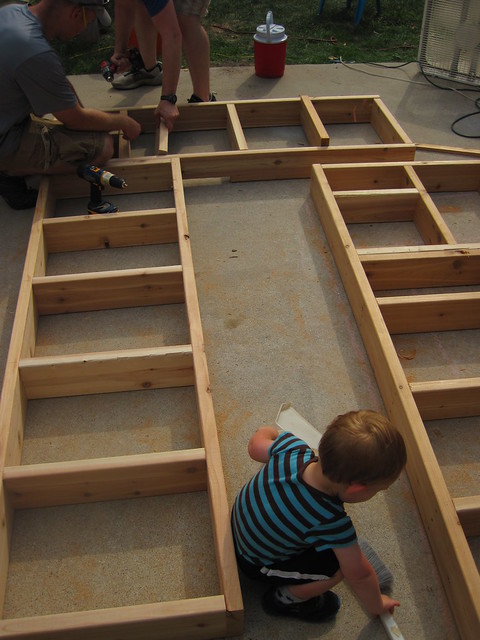
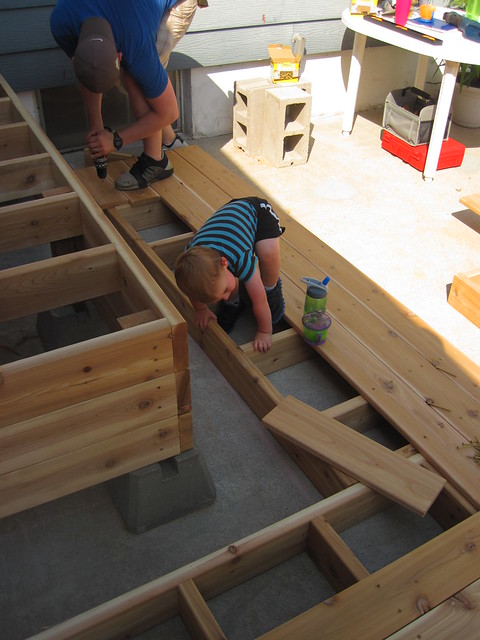
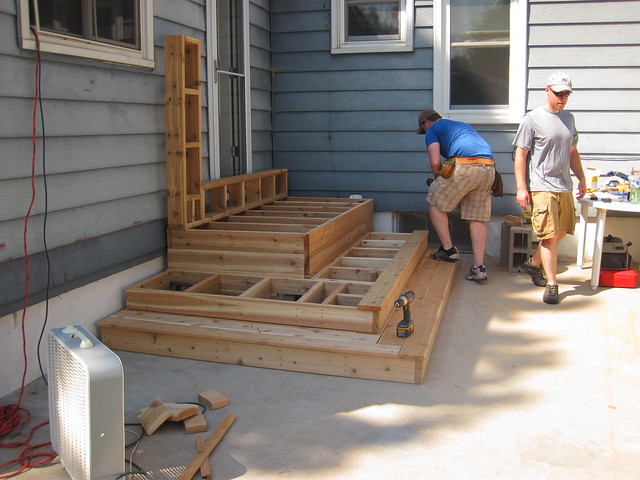
Saturday morning we got up, fixed a good breakfast and got started about 10:00. Our friend, Al, came over about that time. Our goal was to get the frame built on Saturday, because I had to go into work at 2:30. But since we had help our goal B was to get the boxes for the stairs made. We met our goal and all with the help of Al. It was so much help having a third person there because when I had to step away to tend to Isaac, work could still go on. Then I would come back and we'd have three people at it again. Here's the progress from Saturday:
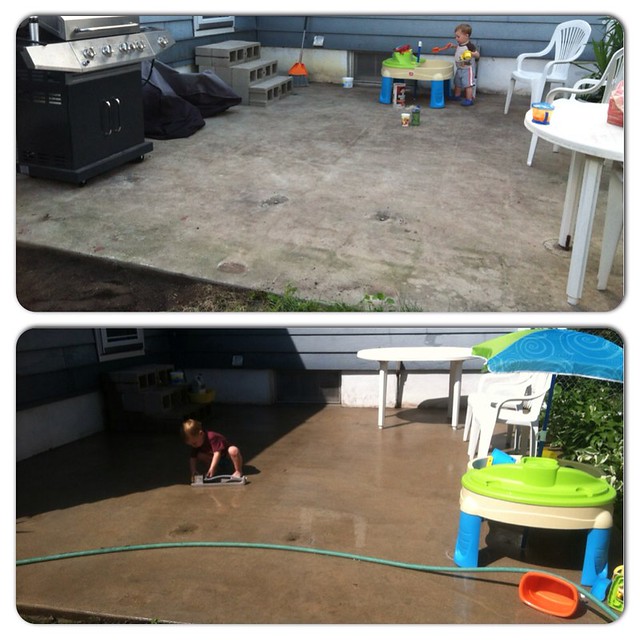
We moved the cinder block steps. Here's a good picture of my deck cleaning before/after. I didn't move the blocks to clean since this is going to be under the deck anyway
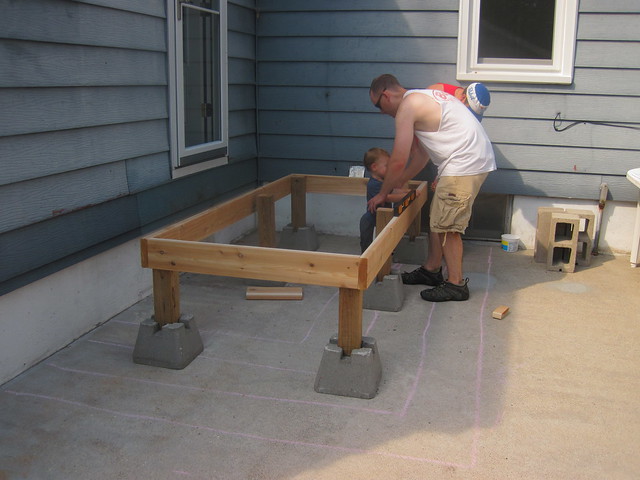
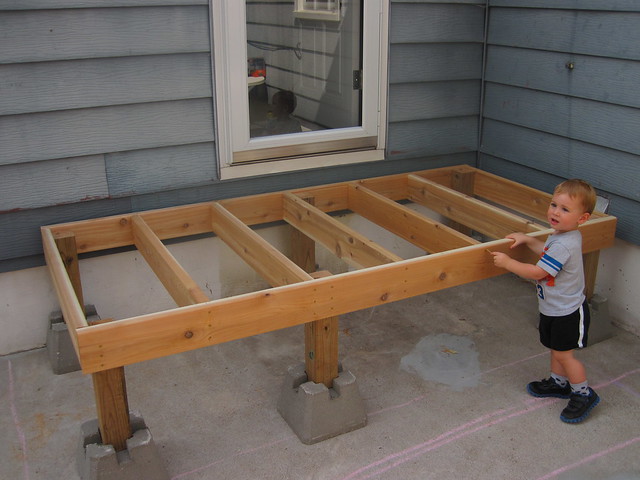
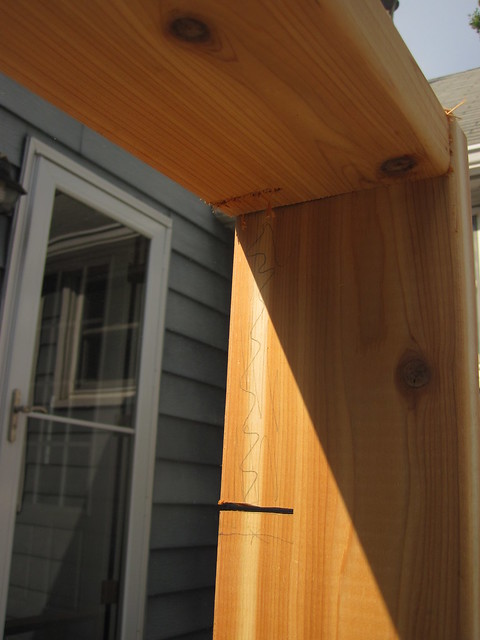
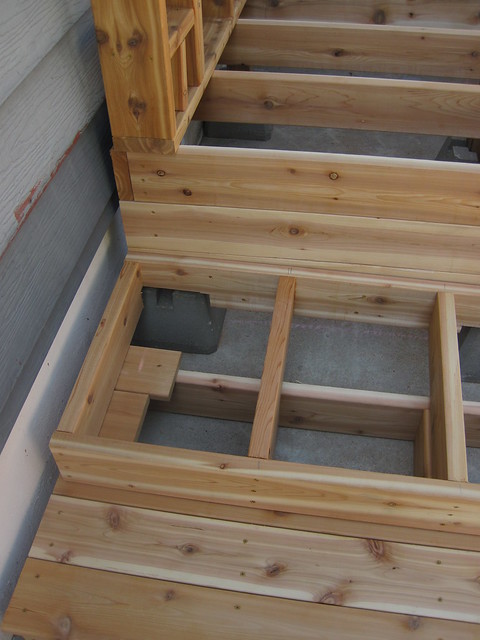
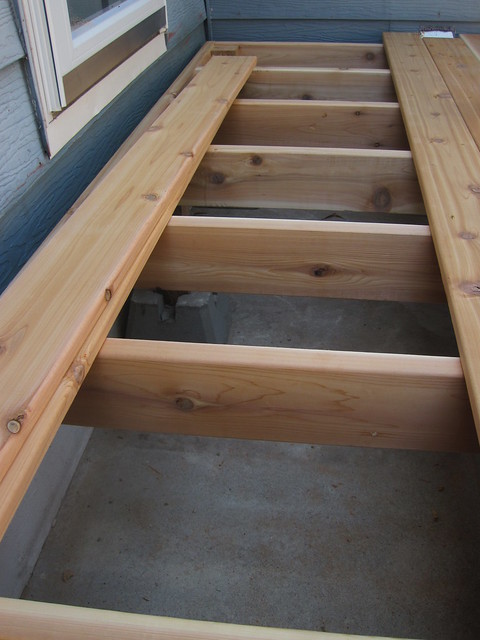
Posts in place, well pulled out a bit. We needed to be able to get around it to screw in the joists.
starting on frame, Isaac helping
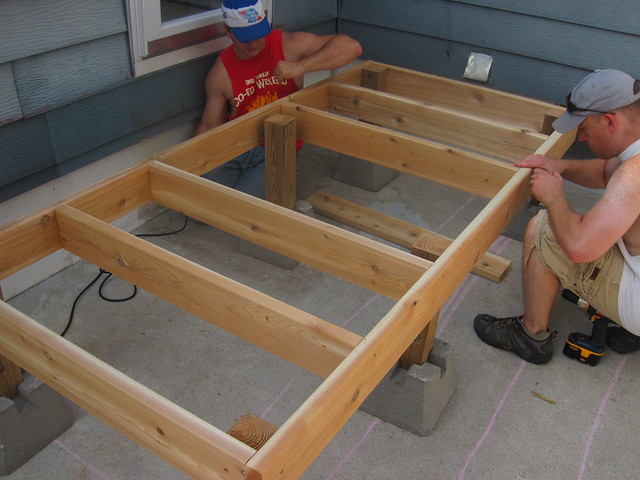
Getting joists put in.
Frame made and moved into place, Isaac helping again.
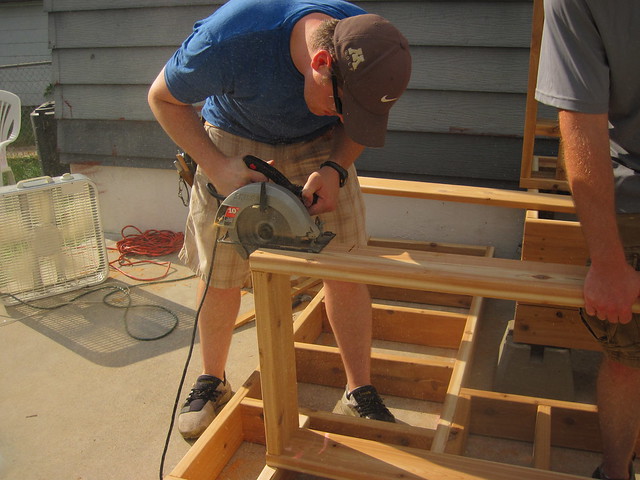
Working on the boxes that will be the steps. Oh and decided to pull the fan out to try and make it a little less hot.

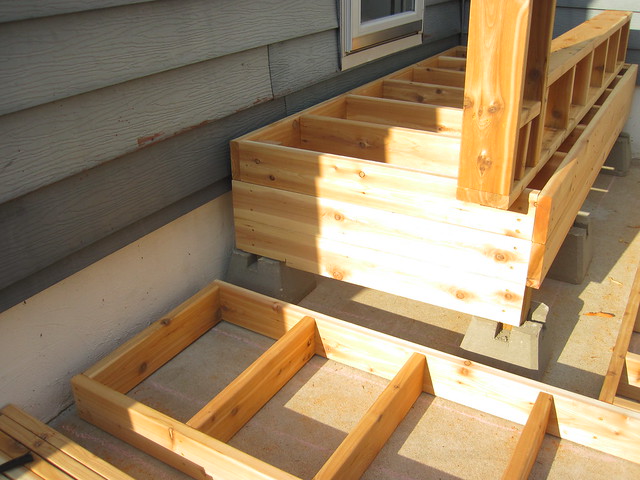
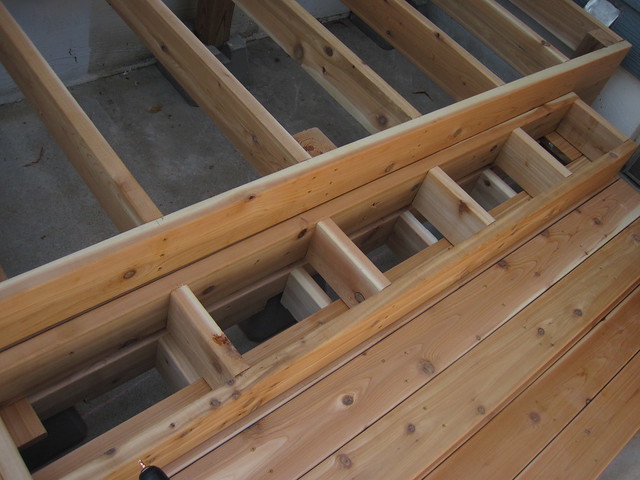
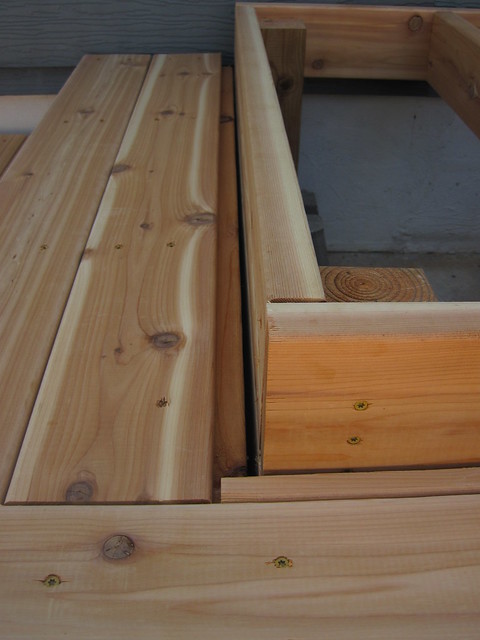
Step number one and step number three

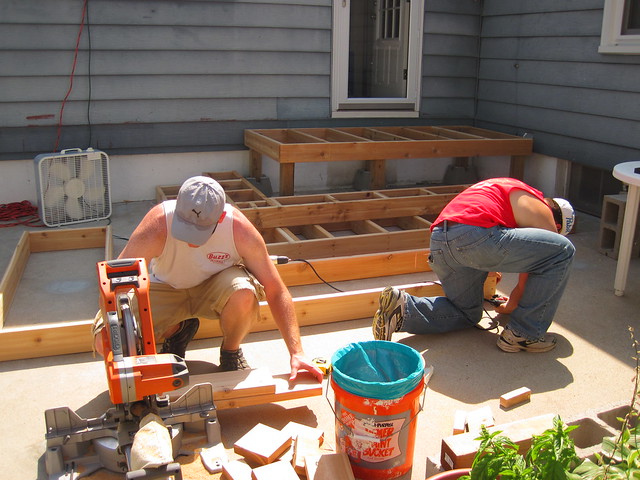
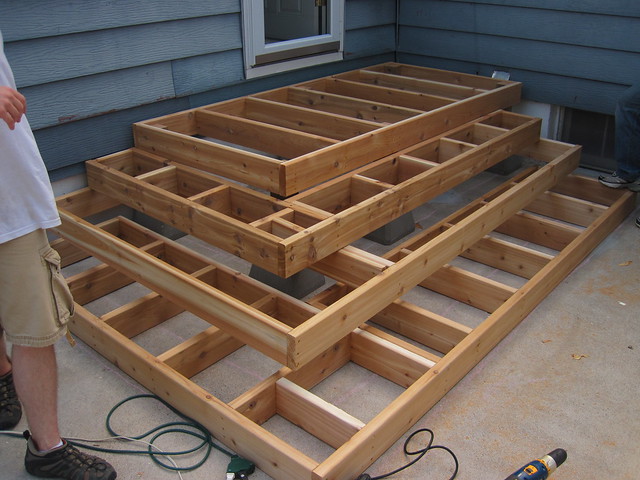
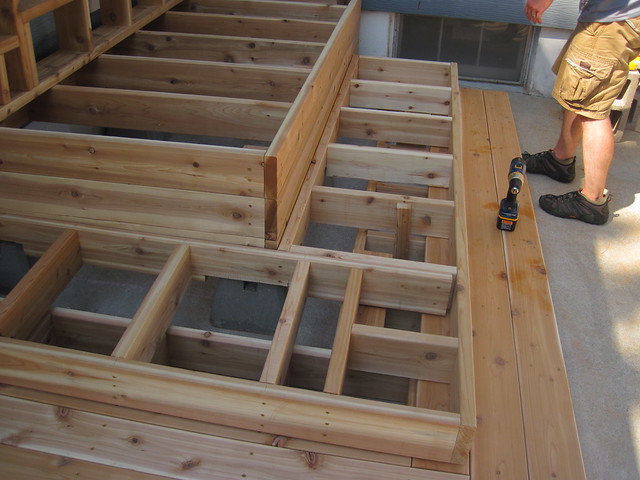
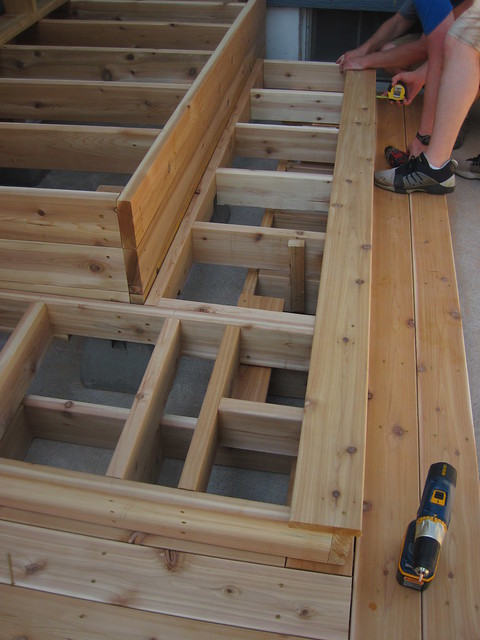
And here's where we ended for Saturday. The first and third boxes are completely built, but none of the boxes are attached. The middle box was going to need some more adjustments because of where it butts into the dek-blocks. The joists were cut but not installed so that it would be easier to cut out the notches the next day.
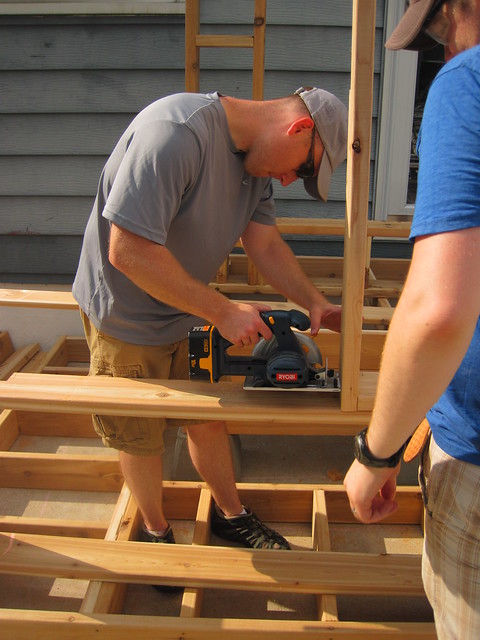
Of course Saturday had to be a busy/rough night at work, I was exhausted all shift from working outside all morning but had to work the evening away. Sunday I wasn't looking forward to rising early, but the motivation of getting the deck done got us through. Another friend came to help on Sunday, Kent, arrived about 8:30. Sunday was said to be the hottest day of the summer so it was in our best interest to get up early and get started at the coolest part of the day. Which wasn't that cool. It started off in the high 70's reaching 90's by noon. Again it was HUGE having another hand to help. We were so blessed with friends offering up their time to come help us. Kent brought his circular saw, which as you'll soon see was essential.
So Sunday's first plan was to get that second box figured out. Since our plan measurements were from the frame edge (not the posts) we needed to add in that extra board to fill that space. We started by adding the 2x6's to the frame.

We had to rip the bottom 2x6 to get it to fit, more so at one end than the other. The deck is as level as we wanted it, we let there be a slight slant to account for rain drainage.
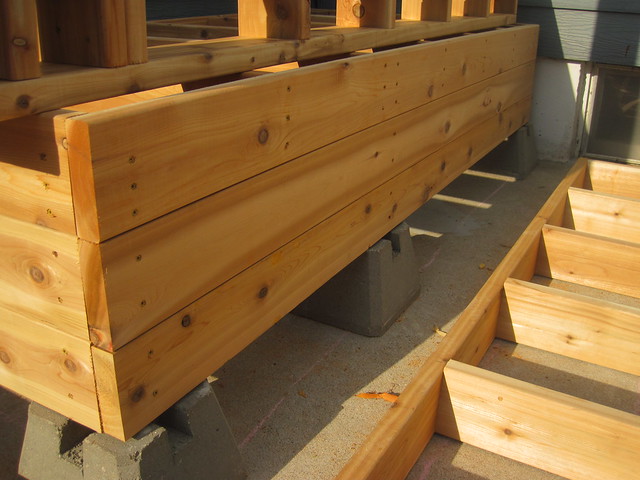
Here we are cutting out the notches in the second box step so we can attach it to the frame boards and have space for where the dek-blocks stick out.
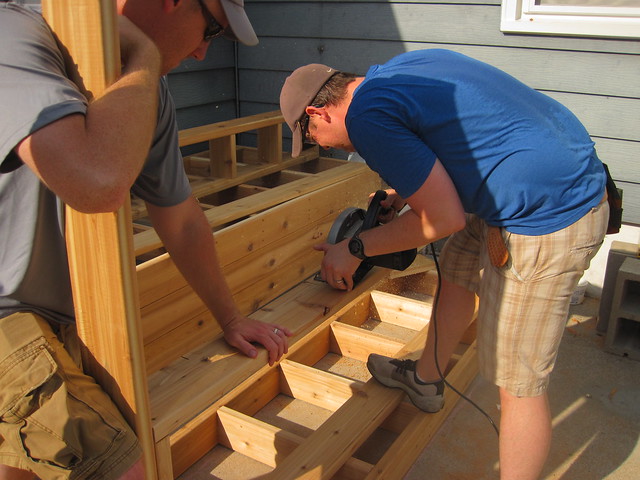
Our little battery powered circular saw actually came in handy for the corner edge where Kent's saw was too big to fit.
We even needed to pull out our reciprocating saw.
We ended up unscrewing a board of the box to finish off the notches.
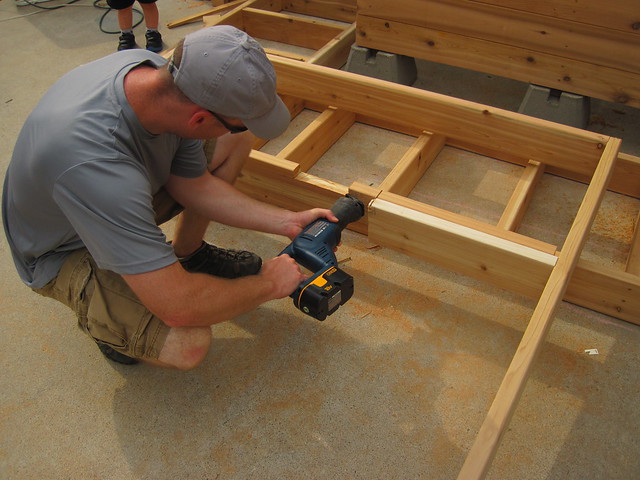
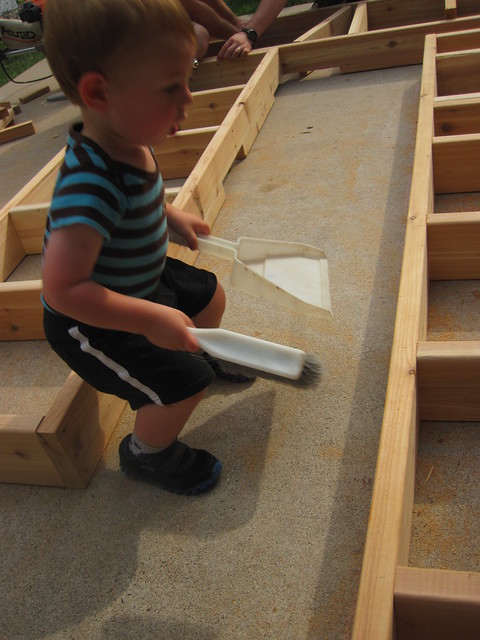
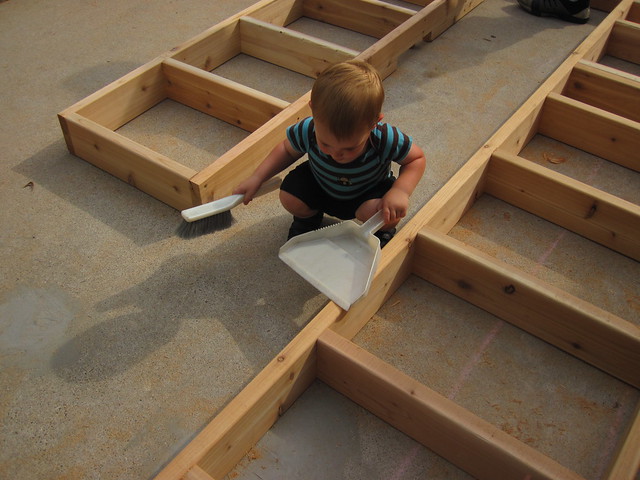
Getting the joists in box #2 and Isaac helping to clean up with me

Getting the planks on step #3. Our third step didn't go all the way back because of the dek-blocks.

We needed a plank in the corner for support and went ahead and put a scrap in between although it isn't visible (I was worried it would be)
It is visible on the other side however.
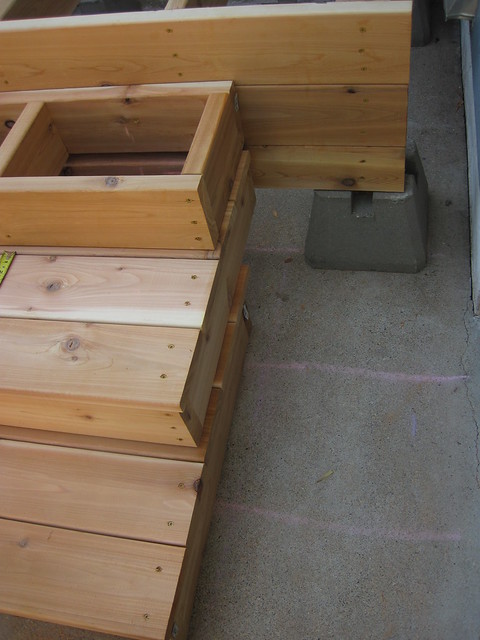
Attaching step #2 to step #3 using scraps. Box #2 did go all the way back and was attached to the frame.
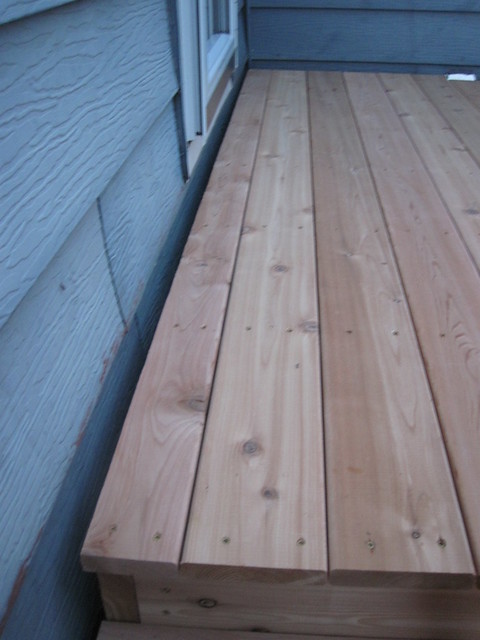
Starting on box #2's planks. We had a 1/2 inch overhang. and about a 1/8" space in between planks.

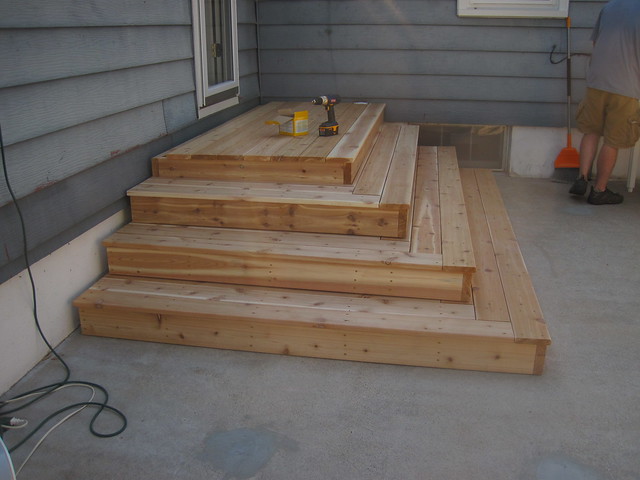
Last box step!!! Box #1 now in place. We had to toenail in the top box since it was too narrow to get our drills into.
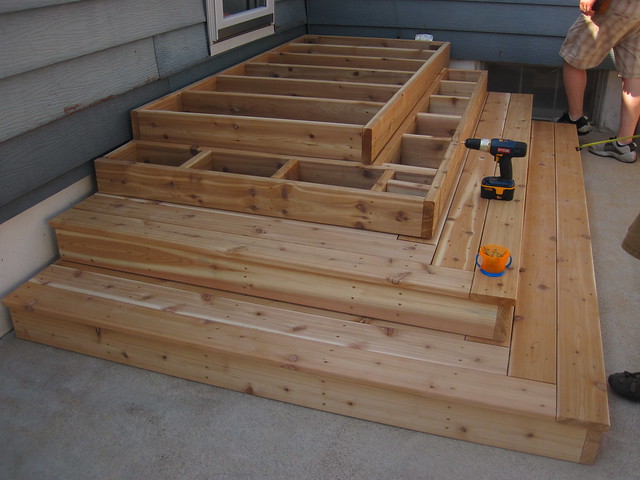
We put three planks on step #2 even though you could mainly see two, we needed a sliver of the third. Then we used a scrap for the fourth placement to help steady the top box step.
Inside view
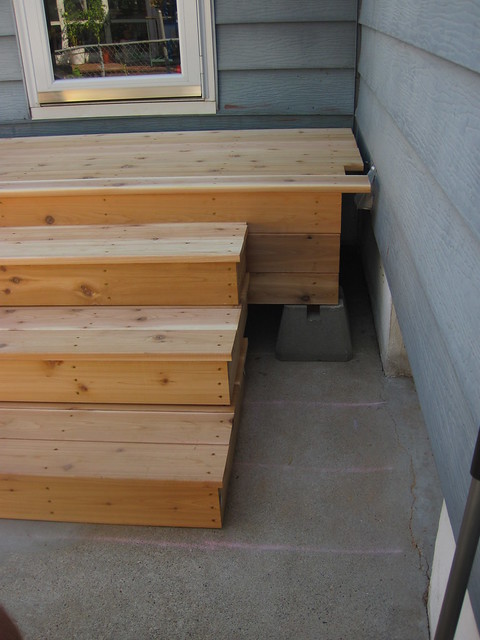
Side view. We choose to come in on this side 12" because we have a basement window there.
Can you see the three steps? haha
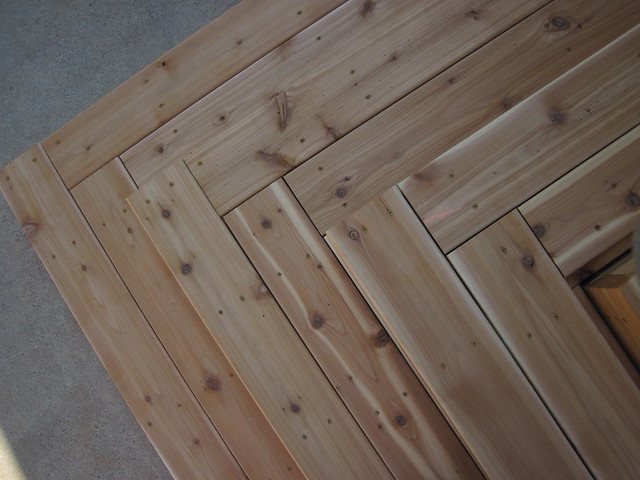
We liked the look of the staggered ends vs. angle cut. Another positive is the staggered is much easier to complete and it's suppose to be good for when it swells.
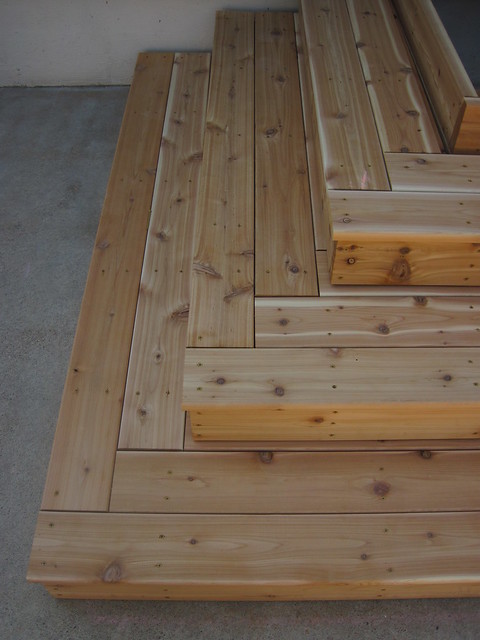
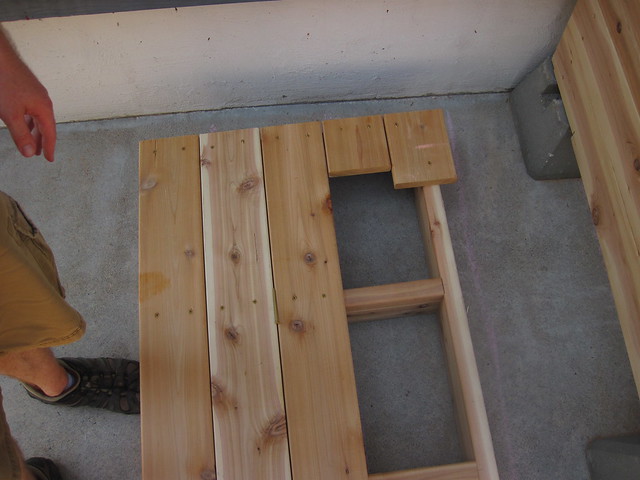
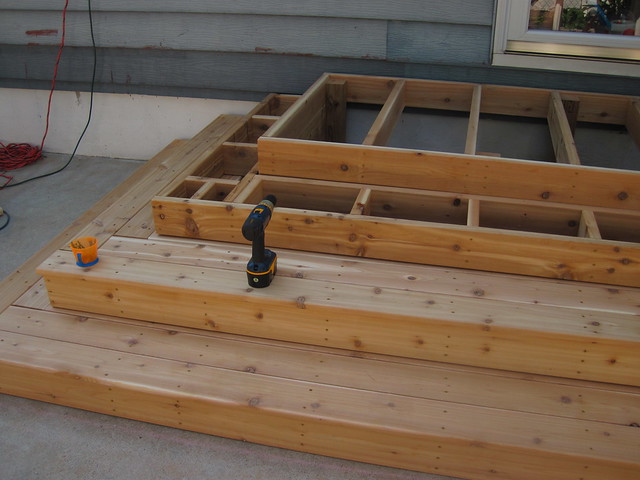
As you can see we were left with a little space on step #1. Kent ripped a nice couple piece to fit in and Kyle tacked them in with the nail gun since they were so small.

We got the corner top plank in as our last step before a break:
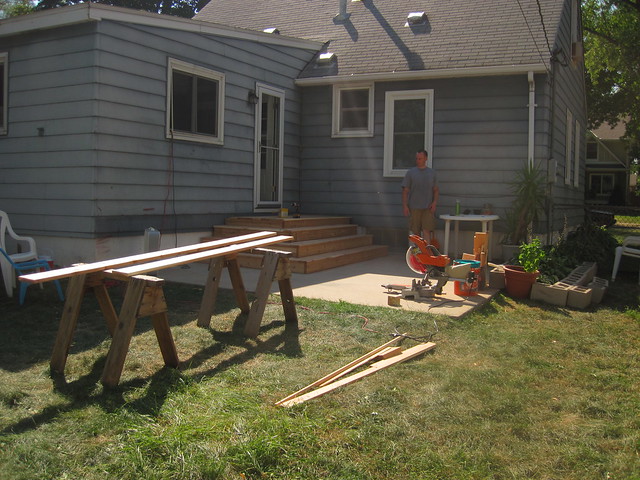
At this point we had two 16' planks left and knew we would need more to complete the top and it was about 12:30 so we thought it was a great place to stop for lunch. Isaac was nearing the end of his rope as well. He had done so good all morning, playing outside, being a helper, playing in the living room and watching us from the back door. But he was getting hungry and tired and we knew we needed to tend to him. Kent finished up with us as it was a good place to finish off with just two people, Kyle ran to get us lunch. Came back and we all ate then I put Isaac down for nap while Kyle ran to get more wood. We originally wanted eight-foot pieces, but they didn't sell them. Since we didn't have room to get the 16' pieces home he just got four ten foot pieces.
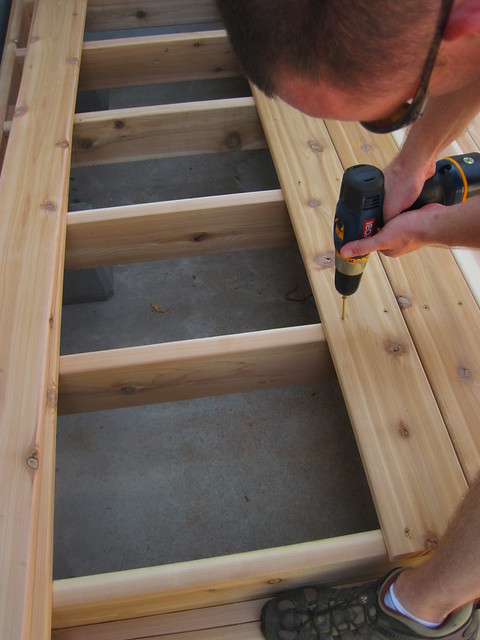
Now that Isaac was down the two of us could pound the rest of the work out and get it finished. Kyle cut the pieces and I screwed them in, just as we had done before. But it went a little slower since I couldn't screw them in as fast as he cut them.

He did help with one screw.
Good-bye ugly part of the patio
We knew we were going to have to rip the last piece. Kent had asked if he wanted us to leave the circular saw but we thought HD would be able to cut our piece (which at the time we were wanting to be cut to 5") so he took it with him. Turns out HD wasn't able to cut pieces length wise and we ended up needing 3 3/4 " anyway, not 5".
We tried our little 18 volt saw... it was crap! The blade started to bend 6 inches in and the wood was scrapped. Luckily Kyle got an extra piece so we had another to use. We were going over to Kent's house for dinner anyway that evening so we just decided to measure out the piece and bring it with us.
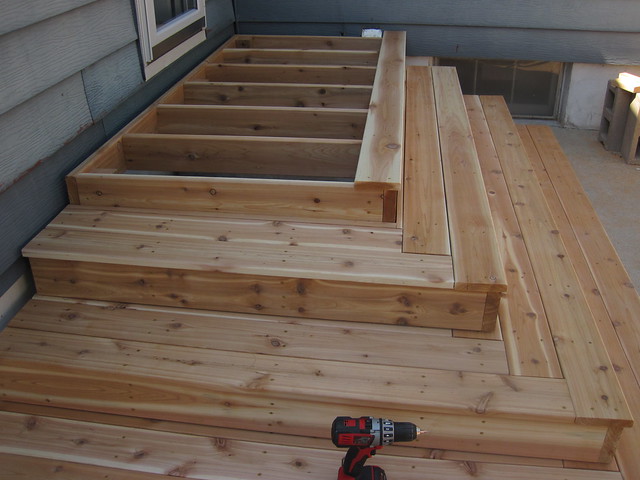
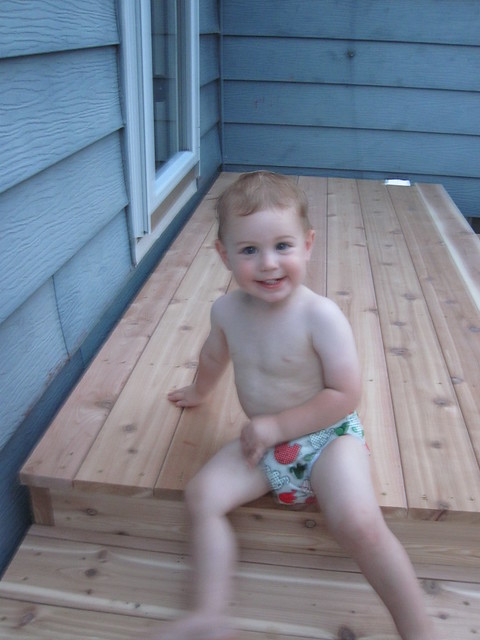
So our deck was (almost) FINISHED!
Here's where we put a shorter board in to account for the dryer vent.
Harpo liked it!

We cleaned up what we could, took showers, sat down for five minutes... then went to make sure the board would fit in Kyle's car and the battery was dead.... Turns out Friday night when we were unloading the home depot truck, a little someone was hanging out in the back of the Subaru watching us... and turned on the overhead light. So since it was two days later, it's only natural for the battery to be dead. So while Isaac was still asleep, I pulled my jeep around to jump Kyle's. We let it run while we went inside and woke up Isaac to head to our friend's house, plank board in tow.
Got the board ripped, had dinner, sat in air condition, and enjoyed a nice visit. When we got home Kyle cut the board to the correct size. I got the sprinkler going because the grass was so bone dry... which Isaac had to play in for a bit. And since he was so cute I had to watch him for a minute.


Then we screwed in the final piece. VIOLA!!! It's DONE! And we love it!
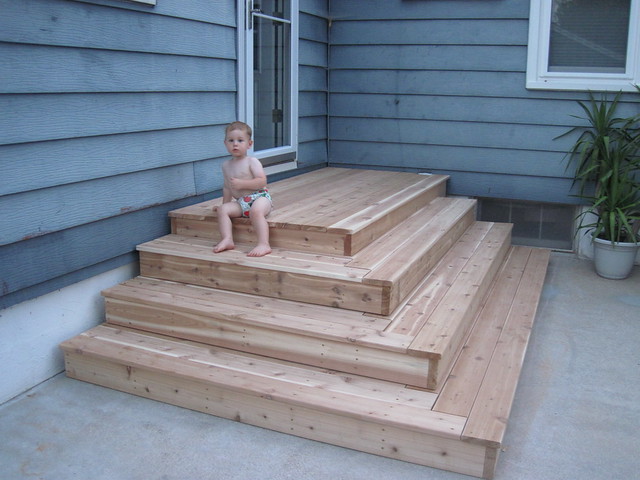
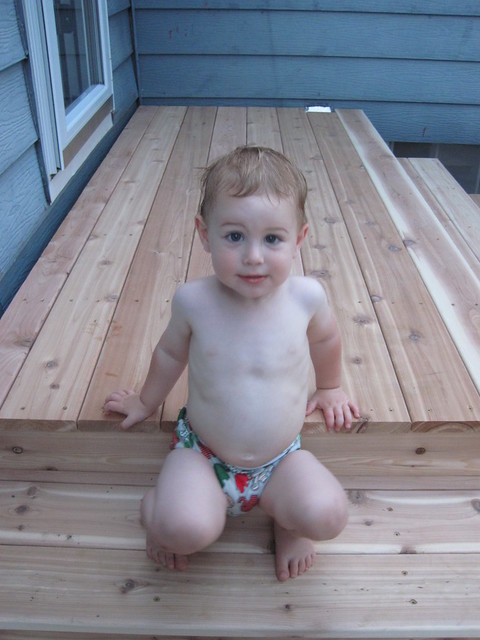
(glamour shots of Isaac on the deck)
No comments:
Post a Comment